Set up your garage
Sign in to GarageBilling, enter your garage details, pick the kind of work you do, and set up how your bills look.
Setting up takes three short screens. Your garage name and phone number go on every bill, so those two are required. Everything else can be added later in Settings.
Sign in
Install the Android app and open it. Tap Sign in with Google, or sign in with your email and a password. GarageBilling is free, and you use the same account on the web app.
Enter your garage details
On Set up your garage, enter your Garage name and Phone number. The Garage address and logo are optional: tap the camera tile to add your logo now, or add it later. Tap Continue.
Pick what you work on
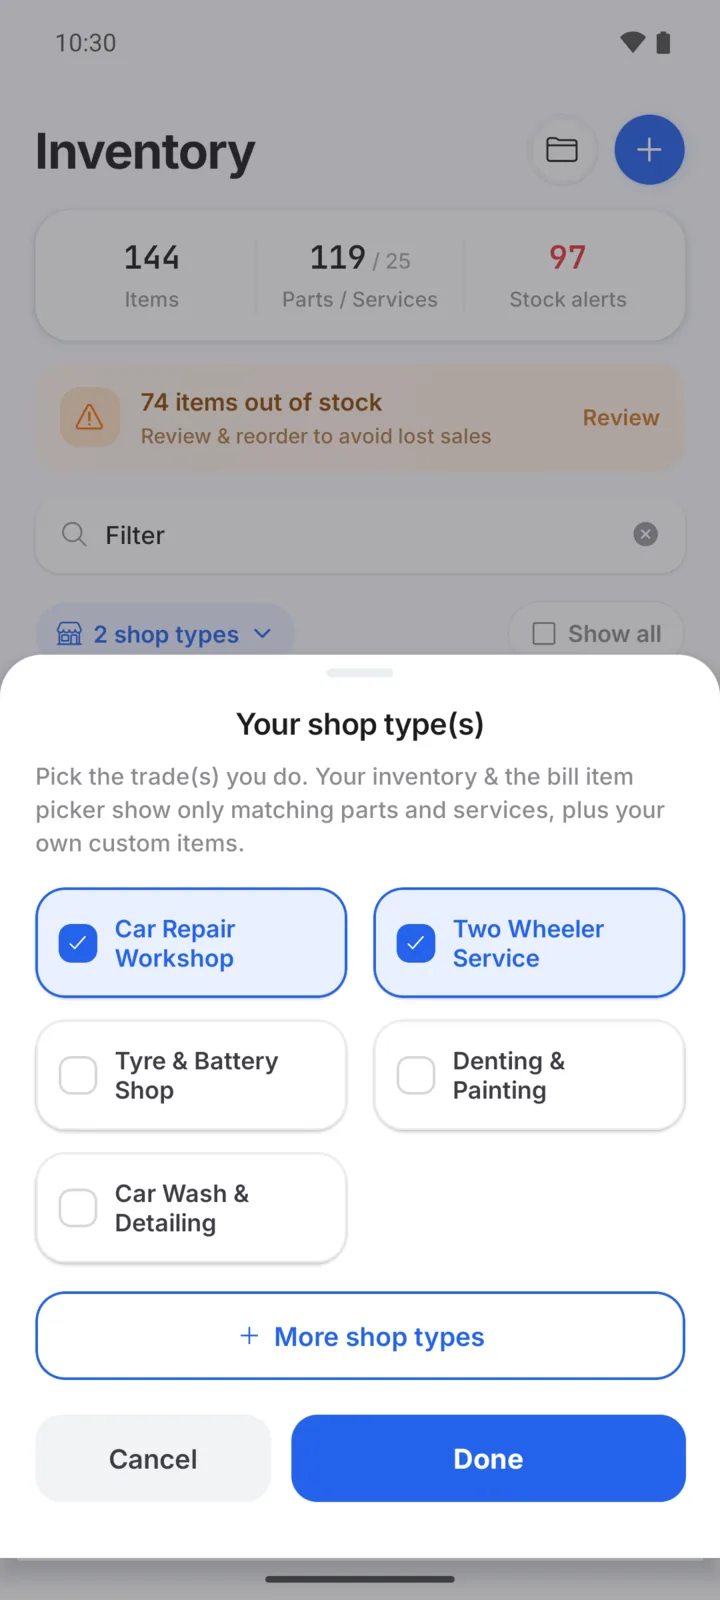
On What do you work on?, choose your trade, such as Car Repair Workshop or Two Wheeler Service. Pick more than one if you do both. GarageBilling then shows only the parts and labour that match your work, so the list is not crowded with items you never use. Tap Continue, then Go to Dashboard.
You can change your trades later: open the Inventory tab and tap the shop type row at the top. The same list opens. To see what each trade's list contains, browse the garage types.
Add your prices
The item list comes with names but no prices, because prices are yours to set. You can set a price the first time you bill an item, but that price is for that bill only. To save a price for every bill, open the item in Inventory and set it there.
Garage details on your bills
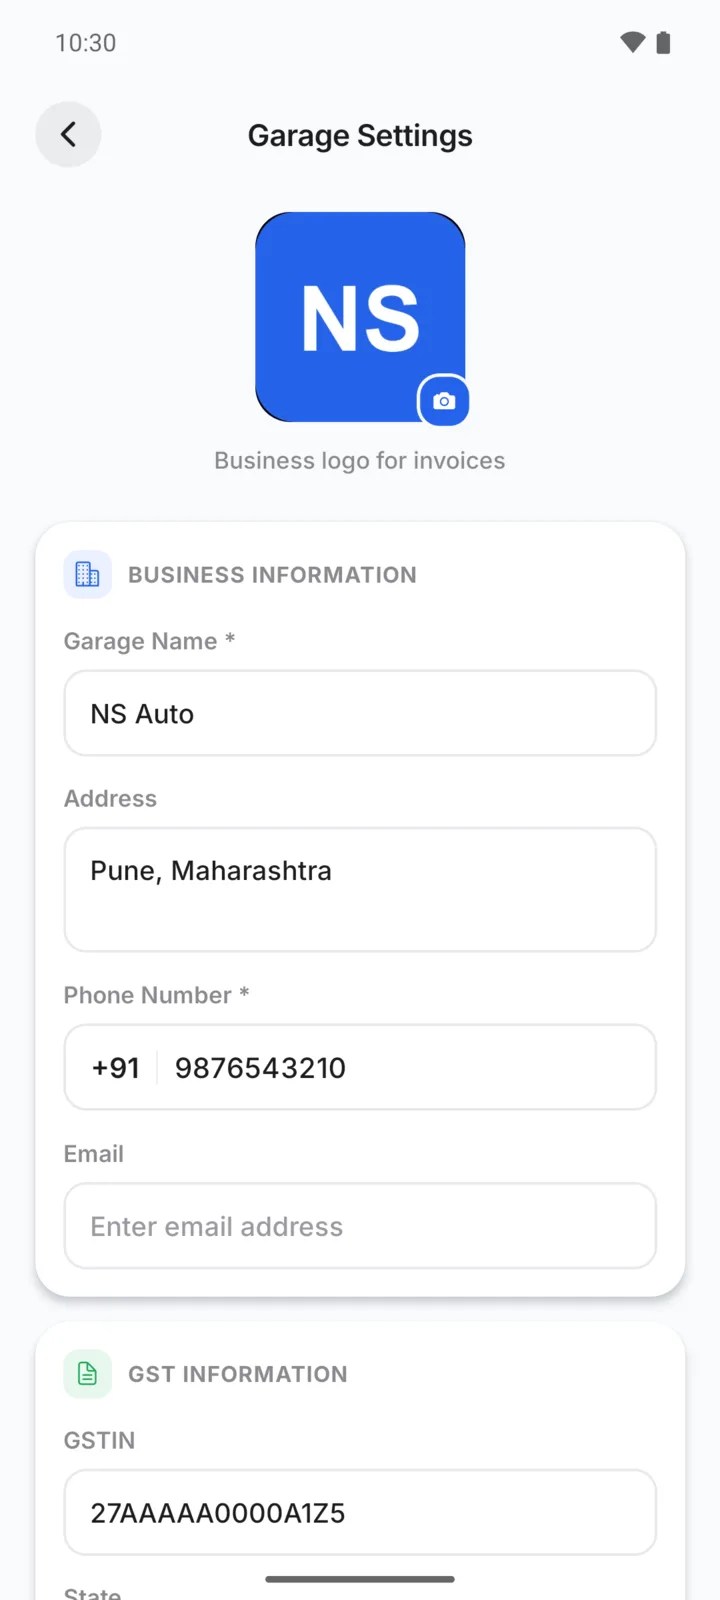
Open Settings (tap your initial at the top of the Home screen), then Garage Settings. Here you can change:
- Logo, Garage Name, Address, Phone Number and Email
- GSTIN and State, if your garage is registered for GST
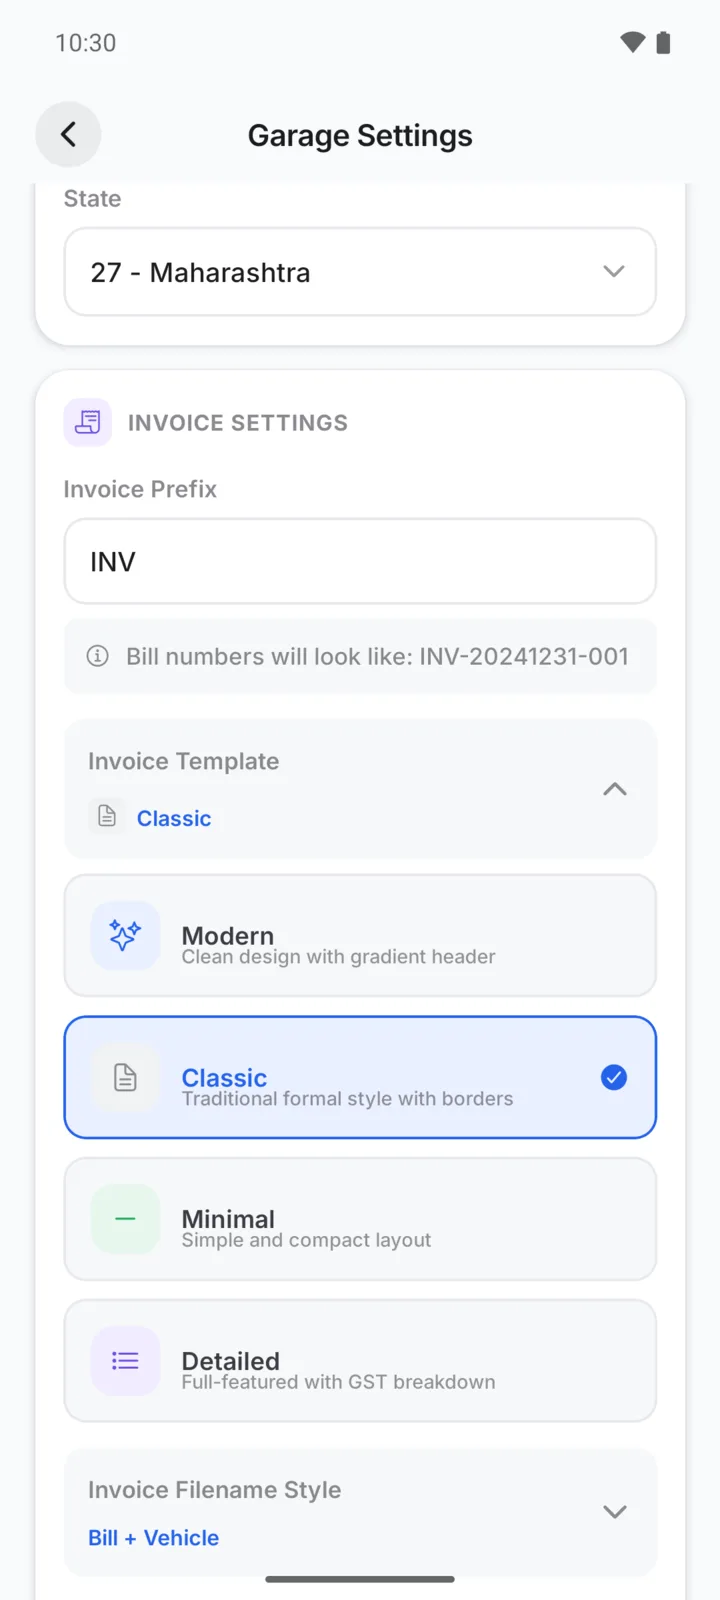
- Invoice Prefix, the letters at the start of every bill number (such as INV)
- Invoice Template, the design of your PDF bills
- Invoice Terms & Conditions, printed at the bottom of each bill
Tap Save Changes when you are done.
Choose a bill design
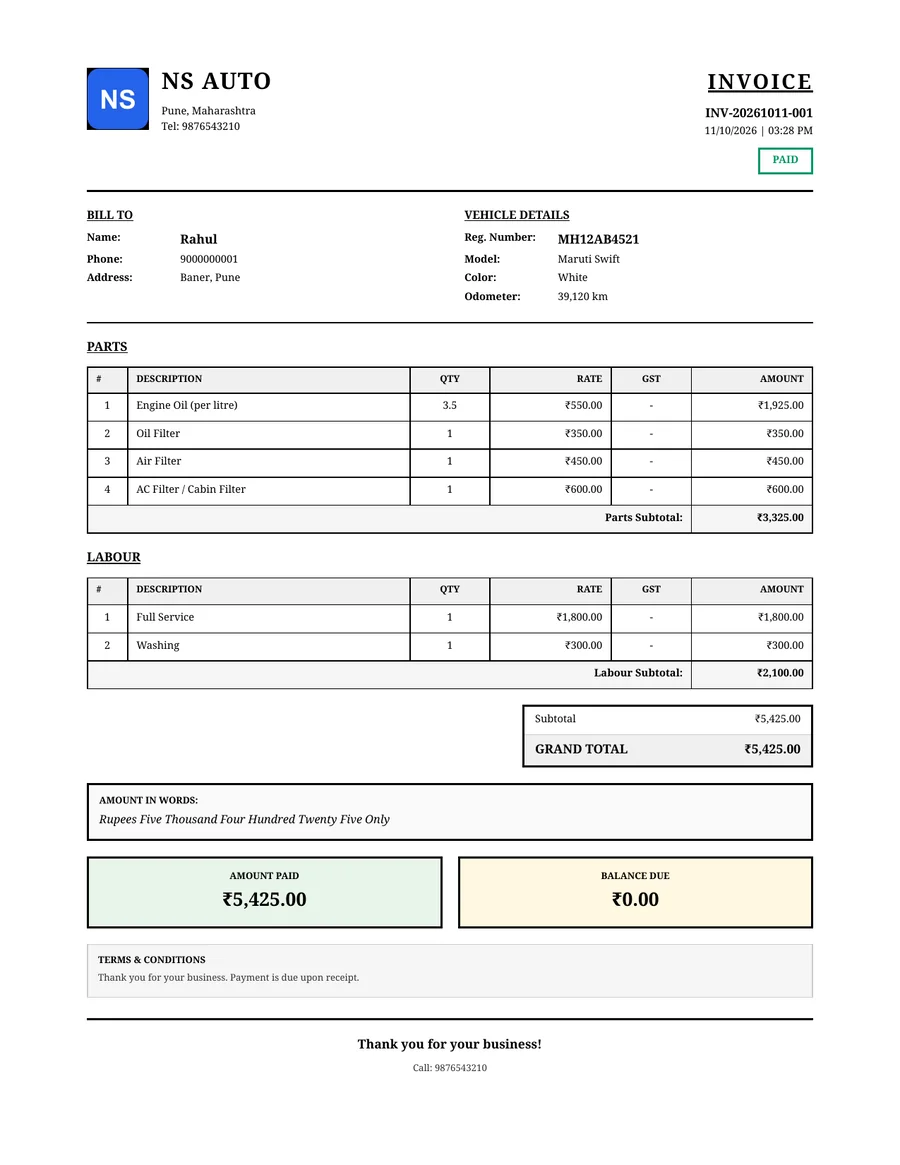
Under Invoice Template, pick Modern, Classic, Minimal or Detailed. Every design shows your garage details, the customer and vehicle, parts and labour, and what has been paid. This is NS Auto's bill in the Classic design:
Adding a GSTIN changes the bill title
When your garage has a GSTIN saved, bills are titled Tax Invoice and show your GSTIN. Without one, they are titled Invoice. See GST billing for how GST appears on bills.